Audio effects
Audio effects are found in the Library panel under the Effects > Audio effects. One way to add an effect to your project is to drag it from the Library onto any audio clip (including video clips with synchronous audio) in the timeline. Another way is to select a timeline clip and in the Editor panel, choose Effect > Add-ons > Audio effects, and click an effect on the thumbnail bar.
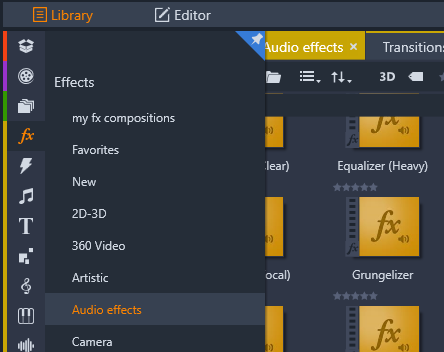
Audio effects in the Library.
The overall interface for audio effects is exactly the same as that for video effects. The common features are not covered here. (See Effects.) A few audio effects, such as the Equalizer and the De-esser, double as correction tools. These are covered under Audio Corrections. Let’s now take a look at the other audio effects.
Channel tool: The basic action of this effect is to route your stereo audio signal. It allows you to connect either or both of the left and right input channels to either or both of the output channels. In addition, channel tool offers special-purpose presets, including phase reverse and voice removal – the ‘karaoke’ effect.
Chorus: The Chorus effect creates a richer sound by repeatedly reintroducing ‘echoes’ into the audio stream. By controlling properties such as the frequency with which the echoes recur, and the decay in volume from one repetition to the next, a variety of results is possible, including flanger-like sounds and other special effects.
Equalizer: Similar to the Equalize correction filter, Equalizer lets you set the Gain (represented as a dial) for a given frequency range (start of range is represented by the number to the left of the dial). For more information about equalizing audio, see Equalize.
Grungelizer: The Grungelizer adds noise and static to your recordings. It can make your clips sound as though you were hearing them on a radio with bad reception or a worn and scratched vinyl record.
Leveler: This effect helps compensate for a common problem in recording audio for video productions: the imbalance in the recorded volume of different elements in the original audio. For instance, your commentary as you shoot the video may be recorded at such a high level that it overwhelms other sounds at the location.
The trick in using the Leveler is to find a target volume somewhere between that of the loud and soft audio in the original clip. Below that volume, Leveler increases the original level by a fixed ratio. Above the target volume, Leveler acts as a compressor, reducing the original level. With careful adjustment of the parameters, the internal balance of the audio can be significantly improved.
Reverb: The Reverb effect simulates the effect of playing back the source sound in a room of a given size and sound reflectivity. The interval between the arrival of the original sound at the listener’s ears and the first echoes is greater for a large room than a small one. The rate at which the echoes die away depends on both the room size and the reflectivity of the walls.
The presets for Reverb are named for the type of room they simulate, from the passenger cabin of a car all the way up to a huge underground cavern.
Stereo echo: This effect allows you to set separate delays on each of the left and right channels, with feedback and balance controls to provide a variety of interesting sounds.
Stereo spread: This effect allows you to decrease or increase the apparent width of the stereo listening field in an audio clip. Most often it is used to create a mix that sounds more open and spacious.