Creating your first movie in Edit
The next step, once you know your way around the Library and have made any changes needed to the default set-up, is to start creating a movie. There are two ways to go about this.
The usual way
If you want to exert detailed control over the way media assets are used in your production, you will usually start building your movie or disc project from scratch by using the features available from the Edit tab.
The easiest way
For ultra-quick results, click SmartMovie at the bottom of the Library panel. Select some visual media assets to serve as the basis of the project, choose music for a soundtrack, and make a handful of other customizations. Then the software takes over, automatically generating a full-scale Pinnacle Studio project containing the media and options requested. For more information, see Instant gratification: SmartMovie.
Back to the usual way
After you have imported and identified your materials in the Library panel, it’s time to get to work on a video or a slideshow by dragging the media to the Timeline, editing the media, previewing in the Player panel as you work, and exporting your final product.
If you are working on a disc production specifically, you can use the Disc Editor mode in the Timeline and export to MyDVD™. For more information, see Disc projects.
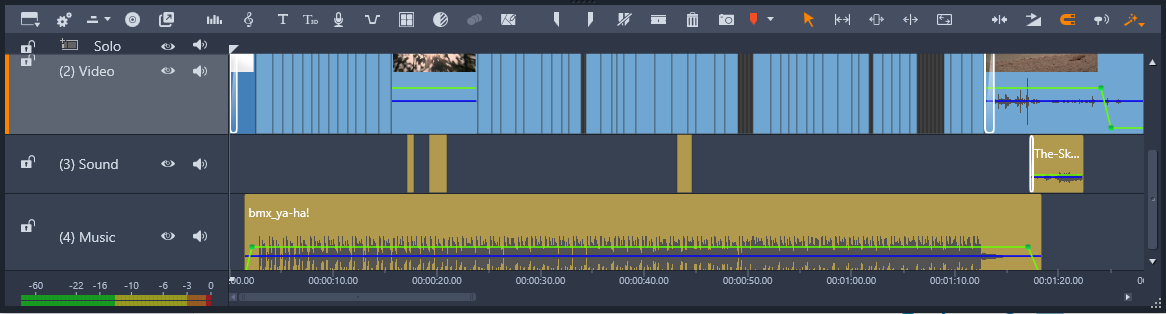
A multitrack timeline occupies the lower part of the display. Most of the ‘clips’ on the timeline come from the Library; a few types, like automatic background music, are generated with special tools.
The preview type control above the Player lets you switch between viewing the current Library asset (Source) and the current timeline clip (Timeline).
For more information about Timeline editing, a central activity in project authoring, see Edit.