Editing multiple clips to create a multi-camera compilation
After you import and synchronize your clips in the Multi-Camera Editor, and choose your audio settings, you can start editing your clips to create a multi-camera compilation. The multi-view pane in the Multi-Camera Editor helps make this task fun and easy. Much like a DJ switches and blends tracks to create a new music compilation, the Multi-Camera Editor lets you visually switch between video tracks and blend them together with transitions.
If you notice that playback is slow or lacks smoothness, you can check the Smart Proxy settings. For more information, see Using Smart Proxy for a faster, smoother editing experience.
After you build your basic compilation using the multi-view pane and the main preview pane, you can fine-tune your project in the Multi-Camera track and take advantage of editing features, such as transitions and a clip splitting tool. Note that some types of edits, such as rotating a clip, must be done in the individual Camera tracks before you add the clips to your compilation in the Multi-Camera track.
1 With your clips in the Multi-Camera Editor timeline, click the Play button  below the main preview pane.
below the main preview pane.Footage from all cameras can be viewed simultaneously in the multi-view pane.
2 To start building your project, as the videos play in the multi-view pane, click the preview for the camera that you want to show.
The footage from the selected camera displays in the main preview pane.
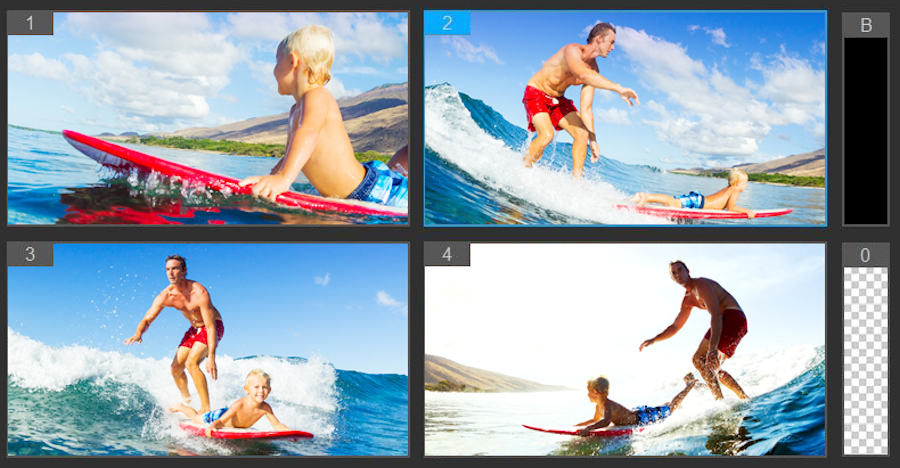
The multi-view pane appears to the left of the main preview pane. Footage from all cameras can be viewed simultaneously in the multi-view pane.
3 To switch cameras, click a different camera preview in the multi-view pane. You can switch cameras as many times as you like. You can review your project in the Multi-Camera track.

The Multi-Camera track in the timeline displays the camera segments in your compilation.
If you want to adjust the zoom level for the Multi-Camera track, drag the zoom level slider  in the lower left corner of the timeline.
in the lower left corner of the timeline.4 After you have completed a first pass using the multi-view pane, you can refine the timing for a switch in the Multi-Camera track by playing your project or scrubbing to the position that you want to edit, clicking a camera segment and dragging the edge until the frame where you want the switch to occur appears in the main preview pane.
To switch a segment in the Multi-Camera track to a different Camera, right-click the segment and choose a different Camera from the context menu or click the camera preview in the multi-view pane.
1 In the Multi-Camera track, click a segment.
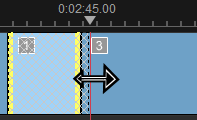
2 On the toolbar, click the Transition button  . The button has a yellow outline when active and a transition icon (“AB”) appears in the timeline
. The button has a yellow outline when active and a transition icon (“AB”) appears in the timelineIf the button is grayed out, gently drag the edge of a segment by a small amount to reactivate the button.
A Crossfade transition is applied by default.
3 On the toolbar, type a time in the Duration box for the transition.
1 In the timeline, select a clip in the Multi-Camera or PIP track and click Play or drag the scrubber to the position where you want to make the cut.
2 Click the Split Clip button.
Note: Splitting a clip is useful when you want to replace part of a segment with a different camera, essentially adding another switch.