Exporting your project
When you have finished editing your project, open the Exporter by pressing clicking the Export tab at the top of the screen. With a few clicks you can tell the Exporter everything it needs to know to output your movie or asset in the format that best fits your requirements.
Note: To export directly from the Library without using the Exporter, please see Exporting directly from the Library.
The Exporter will ensure that your project is complete before it is exported. If there is any missing media, your project cannot be exported until the media is either relinked or deleted from the project. For more information, see Missing media.
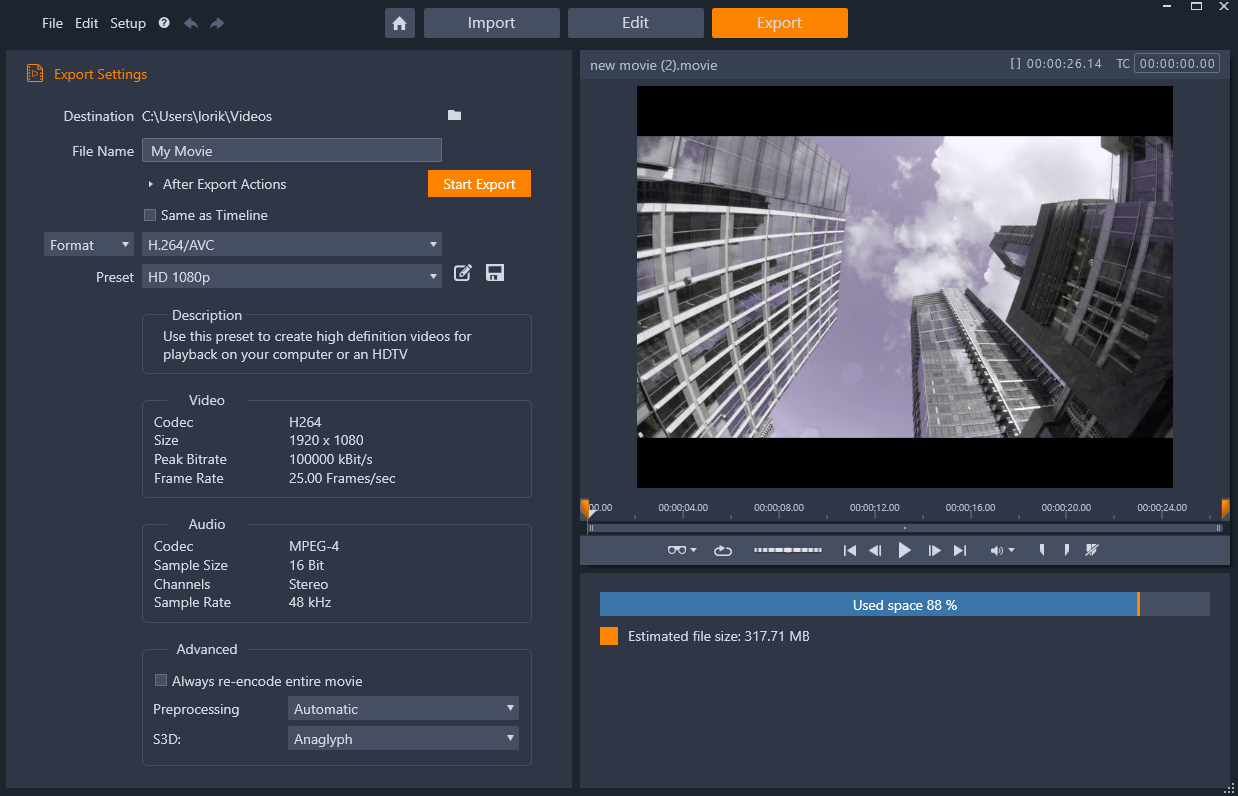
The Export tab lets you access output options as needed for the chosen output type. The name of the project appears above the Player, while the estimated file size and remaining space is provided below the preview area.
1 Set the Destination for your exported files by clicking the browse button and choosing a location.
2 In the File Name box, type a file name.
If you want to set some automatic post-export actions, click After Export Actions and choose the options you want.
3 Do one of the following:
• To export the project using the timeline settings, enable the Same as Timeline check box.
• To choose new settings for export, from the dropdown menu on the left, choose Format, Extension, Device, or Web.
4 From the dropdown menus that appear for your export project, choose the options you want. Presets are available in most cases, or you can customize the settings by clicking the Edit Preset button  . You can then click the Save Preset button
  to save your custom settings as a new preset.
. You can then click the Save Preset button to save your custom settings as a new preset.5 If you want to export only a section of the movie, use the trim controls in the playback control area of the player window.
6 Click Start Export to export your project.