Using face detection for mask tracking
You can use the Face tool to create a mask and then track the motion of the face in a video clip. This feature lets you more easily apply a blur or mosaic to protect someone’s identify, or apply enhancing or creative effects to a face or the inverse—you can protect the face while applying an effect to the surrounding areas.
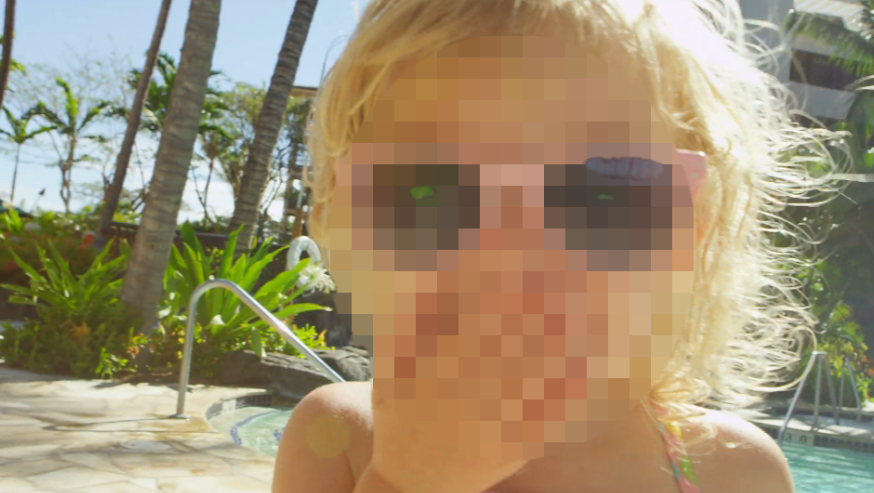
Face detection and motion tracking let you add a blur, mosaic or other effect to a subject’s face.
1 In the Timeline, select a clip that you want to mask, and click Mask to display the Mask panel. Click Create Clip Mask to add a mask directly to the clip.
2 In the Mask panel, click the new Clip Mask button (for example, Clip Mask 1) that appears, and click Create Shape.
3 In the Mask preview area of the Player panel, click the Face tool  .
.
.4 In the preview window, click a face.
A mask overlay appear on the face. If you want to adjust the mask, in the Mask panel, click Modify, and then back in the Player panel preview window, use the Brush tool and Eraser tool that appear at the top of the window to edit the mask. Click the Done button to the right of the tools when you’re finished.
5 In the Mask panel, click the Track button  for the corresponding shape.
Depending on the size and complexity of the clip and your computer system, it might take a few moments to process.
6 In the Mask panel, click the Function tab, and choose the Mask Properties that you want.