Using the Montage Editor
Each Montage template has its own set of slots for video and photo content, represented by drop zones in the Montage Editor. Most templates have at least one slot; the most is six. Some also provide text captions and other parameters to customize special features. You can set a default method for how content is scaled to fit the montage templates (fit, crop, or no scaling). For more information, see Project Settings in the Control Panel (Montage scaling).
The Montage Editor lets you specify template elements such as video or image clips, property settings, and text captions. Clips are added by dragging them from the editor’s Compact Library to drop zones below the Player.
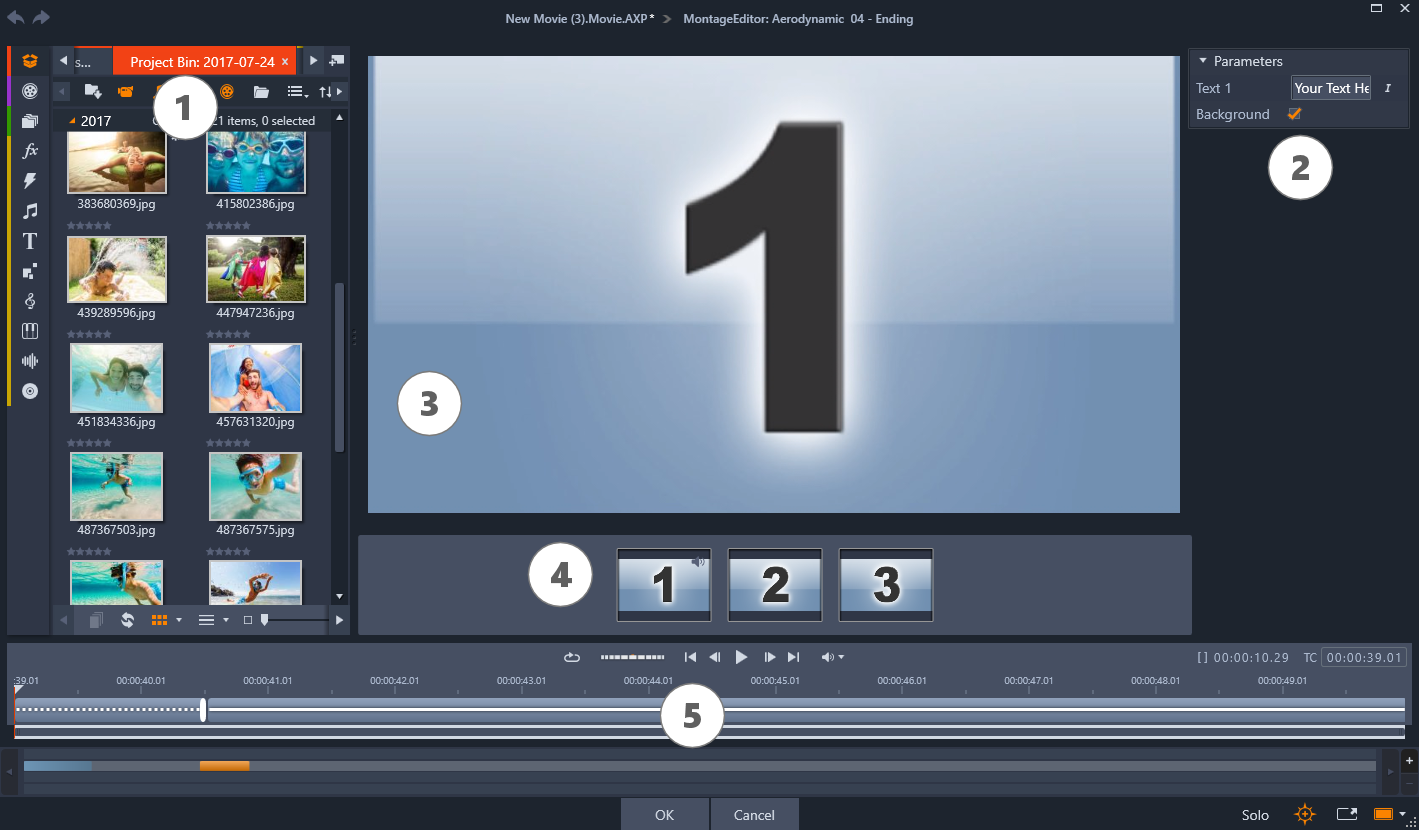
The Montage Editor is split into five parts:
1 On the left, the compact version of the Library provides access to your videos and photos.
2 On the right is a customization panel including any text fields or other controls required by template parameters.
3 The Player shows you the results of your changes.
4 Below the Preview are the drop zones for your video and images.
5 A timeline provides handles for adjusting the lead-in and lead-out times.
When a Montage template begins or ends with a user-settable amount of full-frame video, as many do, the Montage Editor timeline provides handles for adjusting the lead-in and lead-out times – the durations of the full-frame portions. Click a handle and drag left or right to adjust either duration separately. The duration of the center part of the clip – the animated part – will shorten or lengthen accordingly. If you want to balance the lead-in and lead-out without affecting the duration of the center portion, click between the handles and drag.
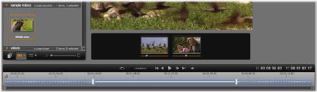
Part of the Montage Editor, with the timeline (bottom) and drop zones for video or images (middle). The lower portions of the Library and the Player are also visible. Click and drag on the timeline to adjust the timing of the Montage.
For a detailed explanation of the template structure, see Anatomy of a montage template.
Clearing drop zones: To delete a subclip from its drop zone, right- click the zone and select Remove Media from the context menu.
Muting subclip audio: Some drop zones are marked with an audio symbol, indicating that the audio portion of any video in that zone will be included in the Montage clip’s audio. If you don’t want the audio to be used, click the symbol to mute the subclip.
Choosing the start of your subclip: Video in a drop zone can be adjusted to start from an offset in the subclip. Click and drag the start of clip slider located under the drop zone to adjust the start frame. The keyboard left and right arrow keys are handy for making fine adjustments.

If the drop zone you are working with is active at that time index, the preview will reflect any changes to the start frame. When you are fine tuning the start frame of a subclip, it’s a good idea to set the scrubber position to the location where the Player preview will be of the greatest assistance.
Using the start of clip slider changes neither the position of the subclip within the template nor its duration, but only which excerpt of the subclip is used. If you set the start of the subclip so late that the video runs out while its zone is still active, the subclip’s last frame will be frozen to fill the allocated time.
Adding effects within drop zones: It is possible to apply video or audio effects directly to a Montage subclip by dragging the effect to the drop zone. As usual, a magenta stripe on the top of the clip signals that effects have been applied.

Removing effects within drop zones: Look under Effects the zone’s context menu for the Delete all command, or for the Delete submenu on which you can select the effect to be deleted.
Note: If you remove or replace the media in a drop zone, all the effects applied to that media are removed, too.