Using a Shape mask to edit specific areas
You can use a Shape mask to complete many editing and creative tasks by setting the Mask Properties and Matte Properties you want.
Functions include:
• Opacity: Create transparent areas based on shapes, text, brushstrokes, or color selected with the Magic Wand.
• Color Correction: Selectively brighten an area or desaturate all but one element, boost color in specific areas and more.
• Invert Color: Invert colors in the selected area.
• Replace Color: Select and change one color for another color.
• Black and White: Create a Black and White film effect, leaving some areas in color.
• Zoom and Loupe: Create magnification effects in selected areas.
Filters include:
• HIgh Pass
• Low Pass
• Dichroic
• Color
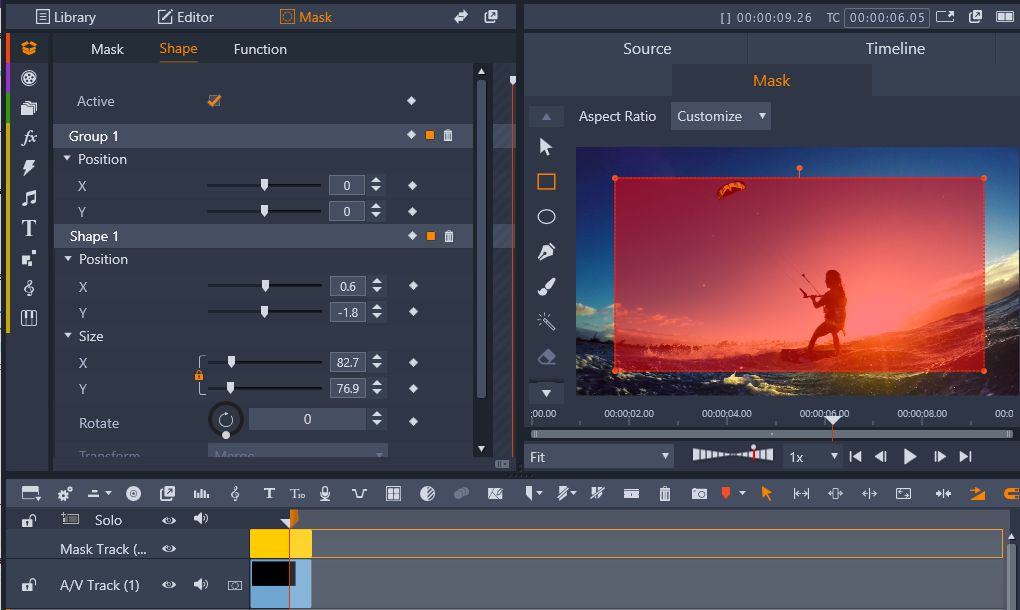
The Mask panel (left) and the Mask preview in the Player panel (right) let you create, view, set properties, and edit masks.
1 Do one of the following:
• In the Timeline, select a clip that you want to mask, and click Mask to display the Mask panel (shares a space with Library and Editor panel). Click Create Mask to add a Mask Track above the clip and automatically create a mask (yellow bar) that matches the length of the selected clip.
• In the Timeline, right-click a track head above which you want to add a mask, and choose Insert New Track > Mask Track. Hold down Ctrl and drag along the mask track to set the length of the mask (yellow bar).
2 In the Mask panel, click Create Shape.
3 Choose one of the shape tools along the left edge of the Mask preview, and create one or more shapes.
4 In the Mask panel, adjust the properties for the shape, including the Transform mode to determine the interaction between shapes.
5 If you want to create a dynamic mask, use the key frames in the Mask panel to adjust the properties over time.
6 If you need to organize the shapes, for more complex masks, click Add a New Group (bottom of Mask panel). Add as many shapes and groups as you need.
7 In the Mask panel, click Function (near the top of the panel).
8 From the Mask Properties area and the Matte Properties area, from the drop-down menu choose Function or Filter, and choose a function or filter from the corresponding drop-down menu.
9 Adjust the settings to get the effect your want.
If you want to remove an effect, choose None from the drop-down menu.
10 To create a dynamic mask, use key frames to change the mask properties over time.