Editing shape masks
You can edit a mask to change the area covered by the mask. If the mask is applied to a video clip, you can move frame-to-frame to precisely change or fine-tune a mask. When editing a mask, you have two options:
• Modify: Lets you fine-tune the current mask. For example, you can adjust the position of the mask or make small changes to add or remove areas.
• Replace: Lets you completely redraw a mask, but provides you with an outline of the previous mask as a reference.
To edit a shape mask from frame-to-frame
Note: If masking an irregular shape that is moving, it is recommended that you try using the Brush tool with Smart Edge enabled to create your mask.
3
Use the playback controls in the Mask preview area to move through the frames, stopping when you need to edit the mask so that it covers your target area.
• Click the Modify button, and in the Mask preview, use the tools you want to edit the shape. For example, use the Selection tool to reposition, resize, or rotate the mask, use the Brush tool with or without Smart Edge to add to the mask, or use the Eraser tool to remove from the mask.
• Click the Replace button, and in the Mask preview area, use the Brush tool (with Smart Edge, or another tool of choice), to redraw the mask (the outline for the previous mask remains as a guide).
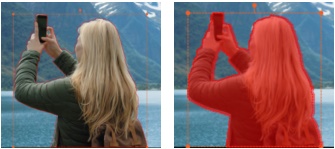
Outline in Replace mode (left); outline with mask overlay in Modify mode (right).
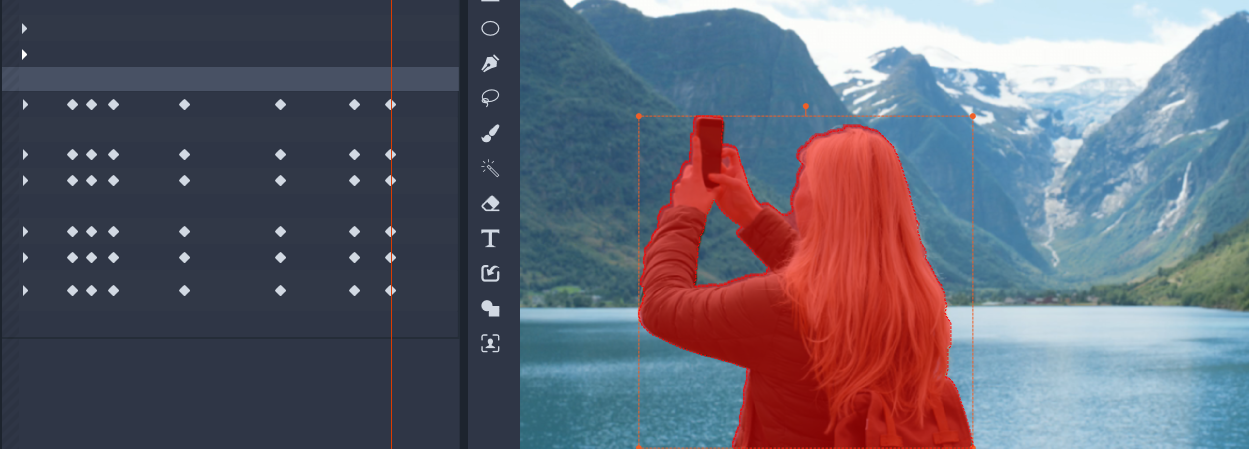
The keyframes on the left indicate each time the mask has been modified or replaced in order to match the mask to a moving subject.

