Previewing edits in the Player
You can operate the Player panel either in single or dual preview mode. Click the Preview Mode button  in the upper right corner of the Player to toggle between them.
in the upper right corner of the Player to toggle between them.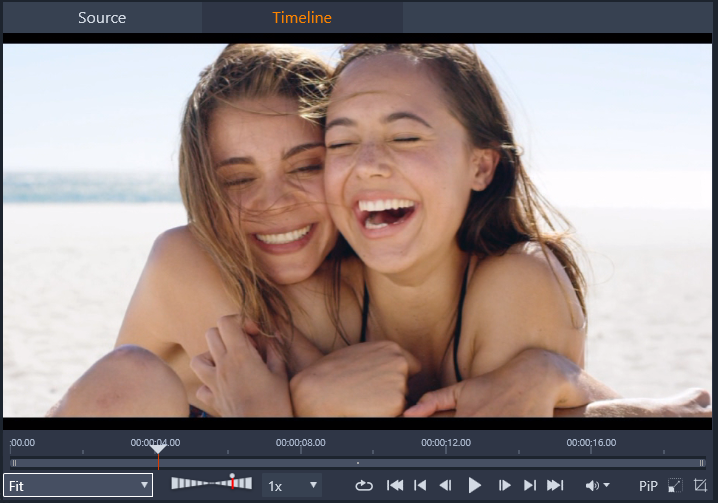
The Player in single mode. You can choose to view either ‘Source’ (Library) or timeline material.
Single mode conserves screen space by providing only one Player preview. The Source and Timeline tabs above the Player indicate whether Library or timeline material is being viewed, and allow you to switch from one to the other.
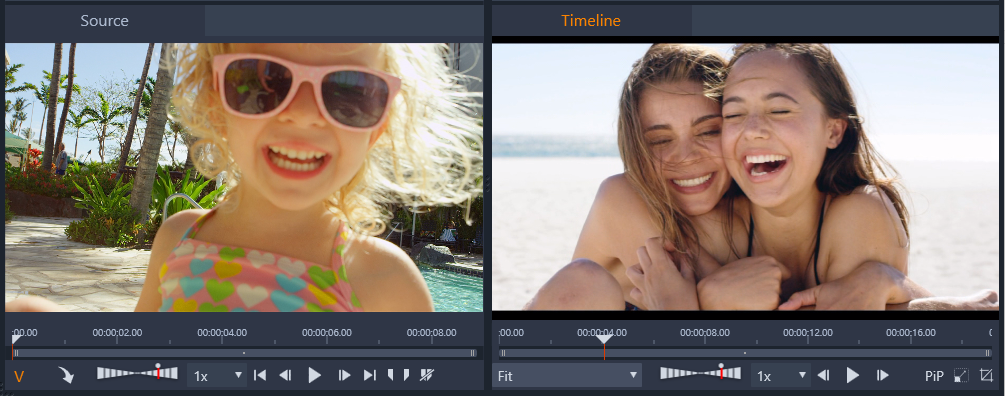
The player in dual mode. The side-by-side previews let you browse the Library while keeping your current movie frame in view.
In dual mode, Source (Library) material is shown in the left-hand preview, and timeline material in the right-hand preview, each with its own set of transport controls. The dual view makes it easier to locate Library assets that fit well with your movie by making both the existing and the prospective material visible simultaneously.
Common preview controls:
The following controls are available at the bottom of both the Timeline preview and Source preview:
• Playback Speed bar: Set to 1x playback speed by default, drag to the right to increase the playback speed. To decrease playback speed, drag to the left, not passing the narrow middle area. To reverse playback, drag to the left side of the bar (the Play button flips when playback is set to reverse). You can also choose a playback speed from the drop-list to the right of the bar. Click the dot above the bar to reset playback to 1x speed.
 .
. • Playback controls: Standard playback controls let you navigate your project on the Timeline: Loop, Go to start, Jump backward, Step one frame backward, Play/Pause, Step one frame forward, Jump forward, Go to end.

• Duration and Timecode (TC): These indicator appear at the top of the preview areas. In the case of the Source clip, the total trimmed length is displayed. For the Timeline, the total project length is displayed. The TC (Timecode) indicator displays the current scrubber position for each preview.
• Show full screen  : Lets you preview in fullscreen mode. Press ESC to exit.
: Lets you preview in fullscreen mode. Press ESC to exit.• Dock/Undock  : Lets you undock the preview so that you can position anywhere on your screen or on a second screen.
: Lets you undock the preview so that you can position anywhere on your screen or on a second screen.Timeline preview controls
The following controls are available for the Timeline preview:
• Zoom Level box: Choose Fit to fill the preview area, or choose a zoom level from 10% to 400%
• System Volume and Mute: Controls the volume for any audio on the Timeline. Clicking the Volume to toggle Mute on or off. Click the Volume arrow and drag the slider to increase or decrease the audio volume. For more control over audio, use the controls in the Timeline.
• PIP controls  ,
,  : Picture-in-Picture (PIP) controls let you scale or crop a clip. For more information, see Picture-in-Picture (PIP).
, : Picture-in-Picture (PIP) controls let you scale or crop a clip. For more information, see Picture-in-Picture (PIP).Source preview controls
• Video stream active and Audio stream active buttons: These buttons let you toggle between including both the video and audio during playback, or including audio only in order to preview an audio waveform of the clip audio.

• Send to Timeline: Click to send the source clip that you’ve previewed to the Timeline. The clip is inserted at the scrubber position or according to markers indicating an in-point or out-point.
• Mark In, Mark Out, Clear mark in/mark out: Markers let you trim the source clip before you add it to the Timeline. Markers can be used for 3-point editing and 4-point editing. For more information, see Clip operations and 3-point and 4-point editing.
You can prepare a project that you want to export to MyDVD by enabling the Disc Editor button  in the timeline toolbar.
in the timeline toolbar.Pinnacle Studio lets you smoothly transition a movie to a disc project at any time during development, so it’s all right to start in the Movie Editor even if you end up targeting DVD for output instead of or as well as the other options.
For more information about disc editing, see Disc projects.
In addition to all types of video productions, you can create complex slideshows and presentations from still images. The same editing techniques apply in both cases.